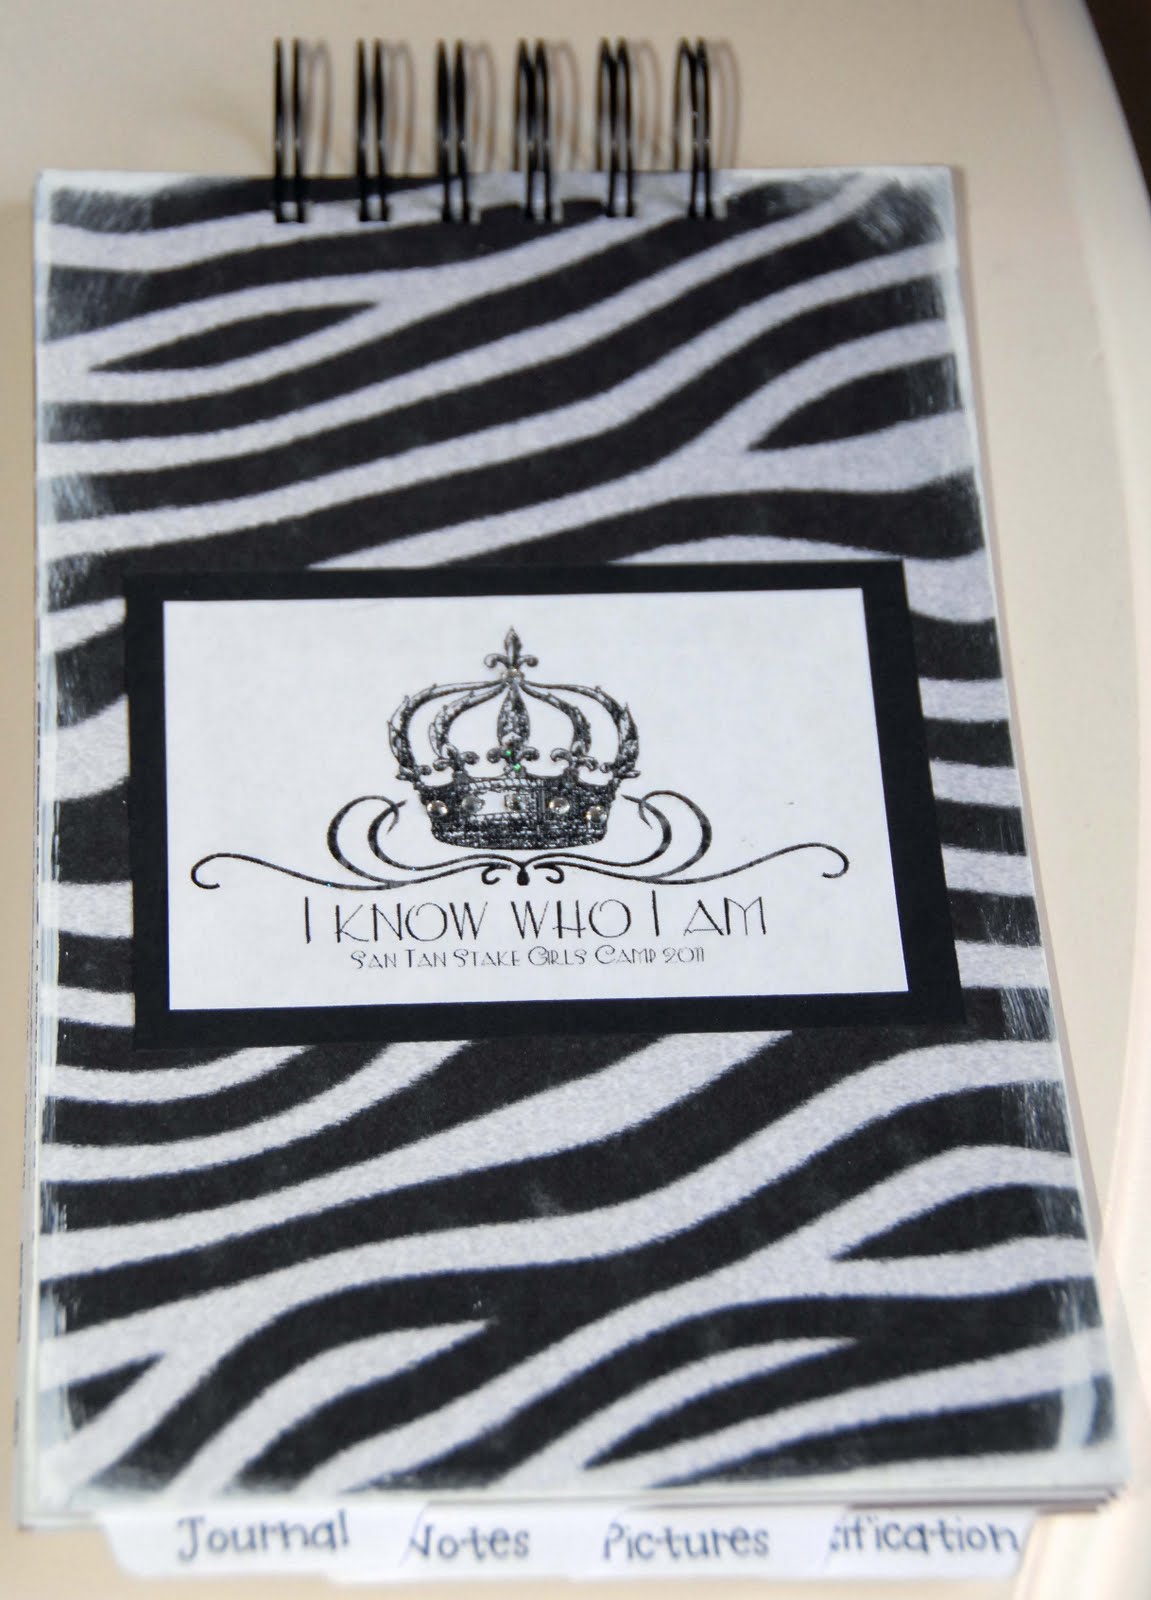
I found these on http://cathypentondesigns.blogspot.com in her newest post. Can I just say, "LOVE"? I really love the way they look. I have to say, better than the ones I had done a few weeks ago. HMMM....
Friday, February 10, 2012
Spring Gardening
Over the past few weeks, I have been steadily working at cleaning up the garden area and getting it back to being plantable. Last summer, I had the unfortunate experience of having my watering system fail, which caused me to lose my plum tree, my grape vines, and the cat's claw that was surrounding the garden to cool off the area, from the cinder block fence. Of course, I also lost everything in my garden, pretty much. It was all in all, a very disappointing summer/fall/winter. I haven't really been able to get out there and work on it until now.
Luckily, I have been able to devote some time to working in the garden, and the weather has been so amazing it has made it even enjoyable. I still have some dead grass that needs removal, as well as the dead grapevines that are not showing signs of life.
I have had to keep my little chickens kind of cooped up for a bit, since there are some new starts in the garden that I would really like to keep, and not sacrifice to their stomachs. They really need a little run, so I do have some plans to fence in the little area to the right of the chicken coop for them to have some added space, but where they won't cause trouble with my plants. I think that will make them happy.
Although it isn't very visible in the above picture, I did manage to get my favorite flower planted. Yes, tulips can grow in Arizona. When I was a little girl, living in Yuma, our teacher asked us to draw our favorite flower. My mom had planted some tulips that year, and that is what I drew. Actually, I think that might have been the only year she planted them. Even so, I remember my teacher telling me that you can't grow tulips in Arizona. I argued with her that you could and I know that she did not believe me. It is possible though. If you want to start the bulbs yourself, you need to keep the bulbs in the crisper section of your refrigerator for 6 weeks to fool them into thinking that it's a cold winter, and then put them out. Or you can cheat, and buy them already semi sprouted from the garden center, like I did. Either way, they are truly beautiful, and still my favorite. If only the dogs didn't like to tromp through them, they would look so much better!
Labels:
AZ gardening,
backyard chickens,
flowers,
Spring Garden,
square foot gardening,
tulips in AZ
2012 Arise and Shine Forth
In our ward, we are coming up on New Beginnings for the year, and are debating on what little something we can give the girls to remind them of the them. This is, of course, not a necessary thing. However, I do have so much extra supplies from projects that for the most part, something like the necklace above would really cost less than $1 per girl. This is just one example of something we might do. I actually really like it, but the down side to the copper is that it does need to be cleaned periodically to keep it shiny.
Labels:
2012 LDS Youth Theme,
crafts,
jewelry,
LDS Young Women,
New Beginnings
Valentine's Day Decor!
My sister-in-law & I decided we needed a new banner for Valentine's Day. I had seen some sewn stuffed hearts and these are our version. They are super simple to make, and stuff. We just used scraps of fabric, so there wasn't anything to buy. To hand them, we just sewed a skinny ribbon onto the heart and then tied it onto a long ribbon that is used to hand them across the entryway. LOVE them! Too bad I can't leave them up all year long...
The streamers are ruffled streamers that I saw a tutorial for. Very simple to make and very inexpensive. The tutorial can be found here...http://www.danamadeit.com/2011/05/tutorial-ruffled-streamers.html
Fruit Tree & Berry Cane Pruning
The weather is beautiful, in the 70's, and it just feels so wonderful outside. This is why we live in Arizona! The mad flurry for spring planting has begun!
Our yard has a little micro-climate on the north side of the house. This spot gets very little direct sun, and the soil really does stay pretty moist all year, even in the middle of the summer, partly due to the air conditioning overflow drip that continuously drips into the area. Anyway, this spot is definitely cooler than any other spot in our yard. Every yard has these. It just takes a little observation to notice them.
This spot is perfect for the berries and fruit trees. Last year, I put the raspberry and blackberry canes in, just a few of each. The raspberry canes took off, although they aren't quite thick yet. The blackberry canes didn't do as well, so I ended up replacing a couple of those on top of the clean-up chores. I also had transplanted 12 little strawberry plants last year. Wow, they really spread, and are now all over the area. I have yet to get any berries this season probably due to the fact that my husband decided to turn off the water to the yard. Why? It's a mystery. I finally figured it out, and managed to get the drips working again. YAY!
My friend gave me 3 banana shoots from her neighbor up in Mesa 2 years ago. I had plopped those down without much thought into the area. Last year, they had gotten frozen, and I thought that I had lost them. Much to my surprise, one of them really grew, and even put off another shoot. So, those are looking ok. We shall see how they do this year.
What started out to be a quickie trim of the apple and peach trees soon turned into something much more, when I realized the raspberry and blackberry canes needed a quick prune of their tips and the strawberries that are so happy underneath them, needed the undergrowth cleaned out.
After consulting a book on how to prune an apple and peach tree, I attempted as best I could to prune them. May I say, very nervous? Anyway, it turned out not to be as bad as I thought. It did, however, make a big mess, that the dogs proceeded to track around the yard. "Oh, goodie, mom is making us some toys!" Hopefully, this will be the year we get some fruit off these little 2 year old babies.
Since raspberries, strawberries, and blackberries are all heavy feeders, they needed a little organic fertilizer, some water, and some mulch, and the yearly chore was done.
All in all, it was a delightful day!
Labels:
apple tree,
AZ gardening,
Blackberry canes,
peach tree,
raspberry canes,
Spring Garden,
strawberries
Thursday, December 15, 2011
Merry Christmas with Shutterfly
So, this year for Christmas cards, I really wanted a candy cane Christmas look. You know, with pink, lime green, baby blue, red. (Well, what I really want is to redo all my christmas tree ornaments and make them into this look, but that is way too expensive!) Anyway, the place where I usually get my cards done didn't have anything I wanted to use, so I decided to try Shutterfly at http://www.shutterfly.com/ instead. (I am not promoting them, nor do I have any affiliation with them.) I uploaded my photo, edited, etc. It took me several times, as their site was having a few problems. So, after typing my family's names in a few times, I submitted it, and paid for it.
An hour later, I was showing it to my son, who promptly noticed his name was missing from the card. (Oops!!) This is what he said, "Nice mom! You forgot about your son!" (This is the son who always says he is the favorite son!) So, I quickly emailed Shutterfly to have the change made. Basicallly, what they said was, sorry, we can't change it. You can refuse the order and then reorder. Not so hot customer service. I sent them a reply about how disappointed I was, etc. They did however, the next day credit me with the entire order and ask me to reorder. Much better customer service!!
Today I received these. These are the incorrect ones, and the new ones are supposed to be delivered tomorrow! YAY!! I still love them, even after all that drama!! Thanks Shutterfly!!
An hour later, I was showing it to my son, who promptly noticed his name was missing from the card. (Oops!!) This is what he said, "Nice mom! You forgot about your son!" (This is the son who always says he is the favorite son!) So, I quickly emailed Shutterfly to have the change made. Basicallly, what they said was, sorry, we can't change it. You can refuse the order and then reorder. Not so hot customer service. I sent them a reply about how disappointed I was, etc. They did however, the next day credit me with the entire order and ask me to reorder. Much better customer service!!
Today I received these. These are the incorrect ones, and the new ones are supposed to be delivered tomorrow! YAY!! I still love them, even after all that drama!! Thanks Shutterfly!!
Cute Fabric Rose Bracelets
These are some fabric rose bracelets that my sister-in-law made for me for some gifts this year. They tie with a ribbon and look so cute on. She does them in a variety of colors and will add bling to the center. I think they are so adorable! Here is the link to her blog. http://beckaboots.blogspot.com/
A Foggy Morning
It is a very delightful day indeed when I can take my husband's dog out for a run. I have been trying to do this 3 or 4 times every week. Some weeks are better than others, as everyone knows. This morning, when we were out, it was so foggy, I thought I would take a pic. You can't really see, but the fog is rising up off the lake in the far distance. It was quite a sight. Of course, Gracie, the dog, didn't care. She just wanted to catch a duck!! That would really not be delightful!
Unique Christmas Gift
Wild Man Beard Conditioner!! Who would have thought? I have been looking all over for small gifts that are unusual. Here is a little something that I think is so funny, and quite unusual, which I purchased for my brother who sometimes sports a goatee or a beard, mainly to annoy my mom. I found is off of http://www.etsy.com/shop/wildroseherbs and it was fairly inexpensive. They delivered very quickly and I can hardly wait for him to open it!
Breakfast at The Hangar Cafe
So, a few lovely days ago I turned "29" again, and to celebrate, we decided to go out to breakfast. Here we all are, with me being the photographer, as usual, eating at "The Hangar Cafe" at Chandler Airpark. If you haven't been there, I highly recommend it. It is a small, little place, but extremely good. Love it! They offer some traditional breakfasts and are open until 2pm every day. That was a delightful day!
Wednesday, December 7, 2011
Merry Christmas Banner!
I was walking through my local Pottery Barn the other day. They had a banner very similar to this hanging above their stocking stuffers, which said, ironically "Stocking Stuffers"! I loved it, and so instead of hanging up my lighted garland in the entryway, decided to do something similar. This is what I came up with.These are easy to print on card stock. Punch 2 holes on the top, one on each corner, just inside the red border. Then, string it with ribbon, or twine, to hang it. Couldn't be simpler. Love IT!
Thursday, December 1, 2011
A Simple YW in Excellence Night
And then the girls showed off their amazing projects they had worked on. But we got this idea from Jenny Phillips at http://www.jennyphillips.com/ to go through old Ensigns and cut out various pictures of Christ and mod podge them onto blocks of wood. They were basically free. The only things is when you are using magazine pages, the paper is different than if it were scrapbook type paper, so when it dries, it is a little bumpy. I did not mind this. I thought it looked as if the picture were old and was really lovely. We displayed them all on a table and let the girls choose which one they would like to take home. A simple evening, but nice.
Labels:
LDS Young Women,
Personal Progress,
YW in Excellence
Simple Nativity
October & November flew by! I can hardly believe it is December 1st! Nonethless, the Christmas season definitely is in full swing. We recently, and by recently, I mean yesterday, finished 27 sets of these little beauties!
The free pattern came from Melinda over at Under My Polka Dot Umbrella. Here is the link for the pattern : http://undermypolkadotumbrella.blogspot.com/2009/09/nativity-patterns.html
It is a pretty simple pattern and we went ahead and just stained them, since we had so many to do...27 sets x 12 pieces each is a whopping 324 pieces we traced, cut, stained and individually wrapped so the girls we gave them to could open a piece every night for a "12 day of Christmas" experience.
We gave the girls cards that went along with it to read every night. Here is the link to the cards we gave away.


The artwork we used came from one of my favorite sites: http://www.twopeasinabucket.com/
and is titled Noche de Paz Cards. Love them.
The daily quotes came from a great little book "52 Weeks of Fun Family Service" by Merrilee Boyack. It is available at www.amazon.com.

Labels:
12 days of christmas,
christmas,
crafts,
free nativity pattern,
nativity
Friday, September 30, 2011
Some Awesome Pics
So, a couple of days ago, I was over at my friend, Jeannine's house & she asked if I wanted to see a project her son, Devon, had finished this summer. His project was to make his little brothers & sisters a playhouse. He had come over at one point to borrow a certain saw to cut an angle for the eaves, so I had known about it. I have to admit, it is pretty great!

He even made the stained wood floors look uneven to look like they are old! There are old strap hinges for the door with an automatic closing spring installed on it. I love that he has it up on a few blocks so that it won't have water damage either. The roof is galvanized tin & apparently they love it, because it is christened inside with their names in chalk on one wall! I think he did an amazing job. What do you think?
The following pic is one of their chicken coop that he built last year. I especially like the watering system they have. I don't have one nearly as nice, and I have plans to install one like it in my coop for my little birdies.


As you can see, on the left of the picture, outside the chicken coop, is a 5 gallon bucket. What you cannot see, is that it has a lid with a screw top cover so you can easily fill with water, or put a frozen water bottle in there to keep the water cold. We all know that chickens do not like their water too hot, and here in Arizona, it definitely is HOT. Anyway, on the side of the bucket, near the bottom Devon drilled a hole large enough to insert a PVC pipe into it. The point that the PVC goes into the bucket is then sealed with a plumbing putty, or water tight glue. The PVC pipe then has an elbow attached to another longer piece of PVC pipe about 2 1/2 feet long with an end on it. This piece is the piece with 3 nipples on it. These the chickens go up and peck. As they peck, water comes out. No more shavings or dirt in the water! YAY! I love it! One thing they did say they would do a little different is to raise the bucket up higher to increase the water pressure as it comes out.

This is the link to purchase the nipples online. My friend Jeannine bought them at Farmtek.
Friday, September 16, 2011
Printable Cards


These are a few of my printable cards I have been working on. I hopefully will have them available for download next week. It is so convenient to have cards at the ready, and be able to print them, but not have to sit down and make them. After all, is the card what matters, or the message in the card?
Wednesday, September 14, 2011

She got the patterns from "Wild and Wonderful Fleece Animals" by Linda Carr available at Amazon.com. The book has so many patterns in it. They are all fairly easy.
Pumpkin Cookies
These are my absolute favorite pumpkin cookies. We made 2 batches of these on Sunday, which is almost 8 dozen cookies, and they were gone by Monday nite. (Not by me eating them, I promise!)
Here is the recipe (it came from allrecipes.com although I use a different frosting):
Pumpkin Cookies
2 1/2 cups all purpose flour
1 teaspoon baking powder
1 teaspoon baking soda
2 teaspoons ground cinnamon
1/2 teaspoon ground nutmeg
1/2 teaspoon ground cloves
1/2 teaspoon salt
1/2 cup butter, softened
1 1/2 cups white sugar
1 cup canned pumpkin puree
1 egg
1 teaspoon vanilla extract
Preheat oven to 350 degrees F. Combine flour, baking powder, baking soda, cinnamon, nutmeg, ground cloves, and salt; set aside.
In a medium bowl, cream together the 1/2 cup of butter & white sugar. Add pumpkin, egg, and 1 teaspoon vanilla to butter mixture, and beat until creamy. Mix in dry ingredients. Drop on cookie sheet by tablespoonfuls; flatten slightly.
Bake for 15 to 20 minutes in the preheated oven. (My oven is hotter so I bake them for 13 minutes). Cool cookies completely before frosting with cream cheese frosting.
Cream Cheese Frosting
1/4 cup butter, softened
4 ounces cream cheese, softened
2 cups confectioners' sugar
1 teaspoon vanilla extract
In a medium bowl, combine butter and cream cheese. Slowly add confectioners' sugar & then add vanilla. Frost cookies. Unused portion may be kept in the refrigerator for up to a week.
The Nie Nie Skirt, by Pink Fig Patterns
Summer Activities
This summer was exceptionally busy. Because there was so much that we did, & made, I just simply didn't have time to update my blogs. I say blogs because I have for the last little while maintained (not very well), 2 separate blogs. The first, www.azgardengirl.wordpress.com & the second, www.cutecoolcrafts.blogspot.com, are now going to be consolidated into this one blog. I think that will work a lot better for me.
The whole first part of June was taken up with girls camp. Some of the things we did were little individual backpacks for the girls, with their name embroidered onto felt and fabric glued onto the backpack. Those worked really great. We used the pattern found on this link: http://reannalilydesigns.com/2009/10/fat-quarter-drawstring-backpack/. At first I wasn't sure it would work well for a hike, with a water bottle and snacks, etc. in it. I myself put 2 regular sized water bottles in it, as well as snacks and a few other things, and it worked very well. This was one thing I would definately do again. It really didn't take that much time with 2 people sewing to get them put together, and it was a lot cheaper than buying them, if you used some discount or sale fabric. For the straps, the directions on the pattern say to use ribbon, but we went to our local store and bought some cotton clothes line at 100 ft. for about 3 dollars. It worked well. There weren't any problems with the clothes line digging in to our shoulders or anything. The one thing we did adjust was to add some inches if a girl was a little bit larger, to make it more comfortable. But, that was the only change. Below is a picture of my backpack. We made them for the leaders as well, which was nice to keep all our stuff together. You can see mine has flowers pinned onto it. Those flowers are made using wired ribbon, and by pulling the wire out of one side of the ribbon, you can wind the ribbon on the side with the wire, getting this flower effect. It really is super simple and turns out amazing.

We also made a flag, and since our ward's name was
"The Royal House of the Believers," the girls came up with things they would like on their flag that showed what they believed in. And then, we had a committee that worked on it. I think they did a great job. When they unveiled our flag, everyone gasped! It was awesome. We also had an entrance into our camp. Our entrance was definately NOT the most elaborate of all of them, but it worked just fine.
We took the sign at the left, & put it atop 2 pillars. It looked great.
To make this sign, so it wouldn't rip (which was a good thing, because this year it was sooo windy), we just took some inexpensive white fabric and transfered the letters on and painted it with black paint. I think it only cost a couple of dollars to make. It is hard to see, but it says, "House of the Believers". We also hung it up in our camp during the week.
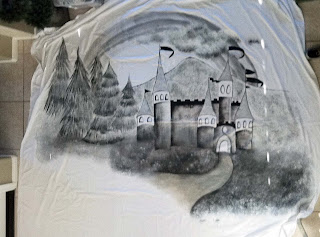
One other thing we did, was paint a background onto a sheet that we could hang up inside of our eating area. This also was pretty cheap, just the cost of a sheet from a thrift store. As it happens, I had a sheet already, that we used.
I bought a Yudu screenprinting machine. It can be viewed at this link: http://www.whatdoyudu.com/. At first, I found it a little difficult to use, having never screenprinted before. However, after doing 40 of these shirts, my friend and I got the hang of it. Since then, I have also tried some other types of inks. I really like opaque ink from Speedball. I purchased them from http://www.dharmatrading.com/ and they were great. I didn't really like the regular inks from Speedball as much, but it might be that I have gotten used to a thicker ink and the regular Speedball ones are pretty thin.
One more thing we did, which was I really liked, and actually was a lot of work was make matching pj bottoms for everyone. It may sound like it could be expensive, but we found some sheets at a good price so it worked out to be about $1.5o for each pair. This is what my pair looked like, which was the only one with little ruffles on the bottom.
Labels:
crafts,
girls camp,
pj bottoms,
screenprinting,
sewing
Subscribe to:
Posts (Atom)